


How academic posters help your students understand and explain their work
Communicating the results of research is one of the most important things that scientists do. By extension it is one of the most important skills that we can teach to our students. With an explosion of fake news and the manipulation of data to fit a specific narrative, it has never been more important for us to ensure that students are able to present their ideas and also interpret the results of others.
With the removal of controlled assessments from most science exam boards in England, it would be easy to think this is a task we can push to one side. However, all major exam boards make it explicit that presenting and communicating observations and explanations is a skill all students should be proficient in.
-
Download this
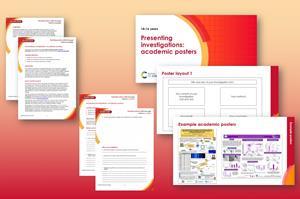
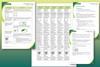
Academic posters resource, for age range 14–16
Use the questions and poster templates to guide your learners as they produce an academic-style poster based on their own investigation.
Download the student worksheet as MS Word or pdf, the presentation as MS PowerPoint or pdf and the teacher notes as MS Word or pdf.
Download this
Academic posters resource, for age range 14–16
Use the questions and poster templates to guide your learners as they produce an academic-style poster based on their own investigation.
Download from the Education in Chemistry website: rsc.li/3ofz2cz
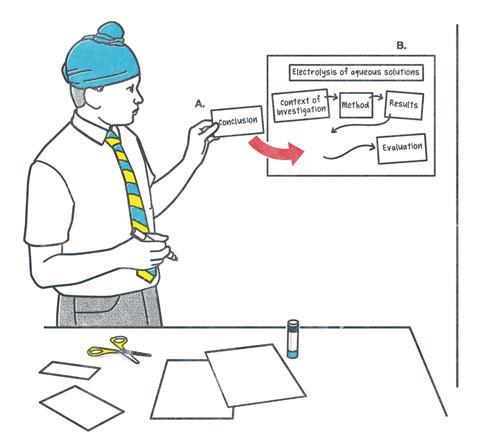
Using academic posters
A good way of helping students to achieve this research and communication skill is by using modified academic posters. The brief is simple: students must distil an entire practical from planning, delivery and explanation onto an A2 sheet of paper. There are plenty of opportunities built into the current specifications for students to develop these skills. The required practicals within each specification are a good place to start. However, these are often incredibly restricted in the planning stages because the hypotheses are so specific.
I have found great success incorporating old controlled assessments into the current schemes of work as a starting point to develop these practical skills. Start with a hypothesis, for example, factors affecting temperature change in an exothermic reaction. Anhydrous sodium carbonate producing a temperature change when mixed with water is a relatively safe and simple practical.
First, ask students to research why these reactions might be useful. This puts some context into their work. Self-heating coffee cans or pocket warmers both make use of simple exothermic reactions. Then ask students to write up a simple paragraph explaining their research.

This article is part of our Teaching science skills series, bringing together strategies and classroom activities to help your learners develop essential scientific skills, from literacy to risk assessment and more.
Students then plan an investigation into how the mass of their reactant might affect the temperature change in the experiment. Any practical designed by students must be risk-assessed by a member of staff. The exact level of guidance you give your students will depend on each individual class.
Once students have carried out the experiment, they need to think about how they present their results. A table and graph make most sense and provide a clear visual for their poster. Students should add a short conclusion to their experiment including the science explaining why they got their results.
Ask students to link their results back to their context and real-world applications for the practical. For example, you could ask questions about why a commercial organisation might not use the maximum amount of reactant even though it gives a bigger temperature change. This allows students to think about the economics of chemical reactions.
Recommended reading and resources
- Help students get to grips with selecting the right way to present their data.
- Improve graph skills for chemistry with this diagnostic exercise and worksheet.
- Find ideas and support to help students evaluate their experiments as part of their write-up.
- Combine research, practical work and presentation of results in this fats in food investigation.
- Presenting complex science in an accessible way is key to Fernando’s job as a science communicator.
Students then put all these components together on their poster. This allows you to clearly see a student’s train of thought throughout their work. While this activity fits well into the 14–16 curriculum, I have seen it used by younger students in a science fair activity where students then talked through their posters with judges.
I have also scaled it upwards and used it with students aged 16–18 who had to add academic referencing and citations. These students had much more flexibility in what they could investigate. Once the posters have been created, I invite my 14–16 year old students to talk to and question the 16–18 year olds, who then talk around their research, what they had discovered and why it is important.


3 readers' comments