


Show learners the do’s and don’ts of writing titration methods to achieve better understanding and higher marks
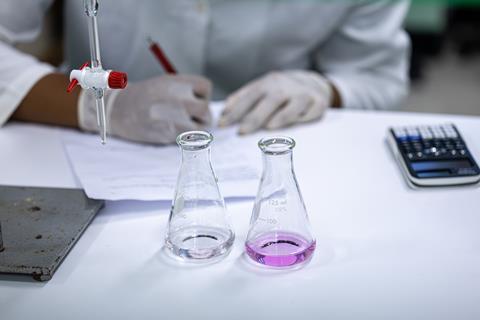
How do you write a titration method? Some exam boards have this as a required practical question at 14–16, yet far too many students don’t secure full marks. In my experience, students can often be too brief and fail to understand that the marks are in the detail. To get them writing comprehensive answers and securing full marks, you can follow my simple sequence of three lessons.
Three lessons for full marks
Follow three lessons for full marks
In lesson one, get learners to carry out the titration from a given method and explain each step as they do it.
In lesson two, teach and carry out the calculations, either using students’ results or a sample set. Consolidate this by introducing some different scenarios (e.g. change the unknown and add a diprotic acid).
In lesson three, provide students with a WABOLL (What a Bad One Looks Like) method and ask them to unpick it. I do this in several ways:
- Get learners to work in pairs to unpick the WABOLL, identifying the errors and taking it in turns to annotate the text. Then, give them a WAGOLL (What a Good One Looks Like), and ask them to add missed mistakes in a different colour.
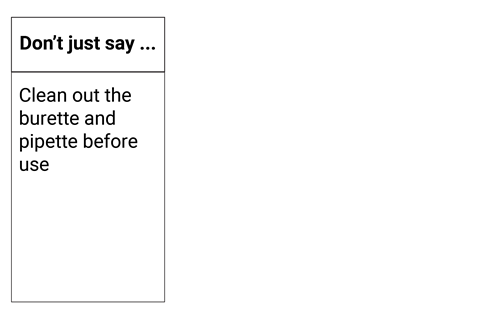
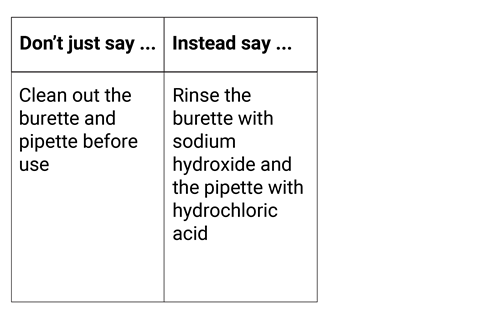
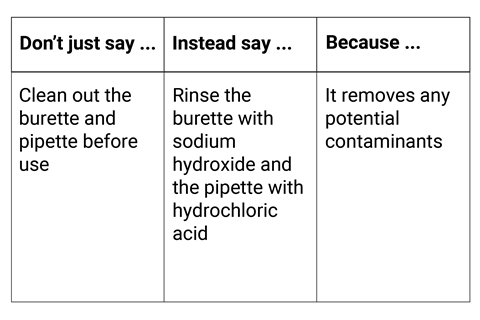
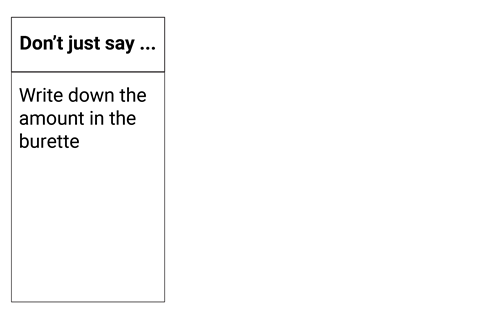
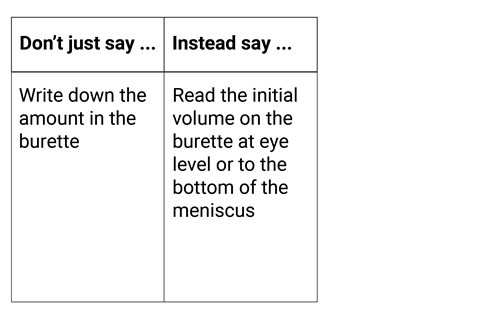
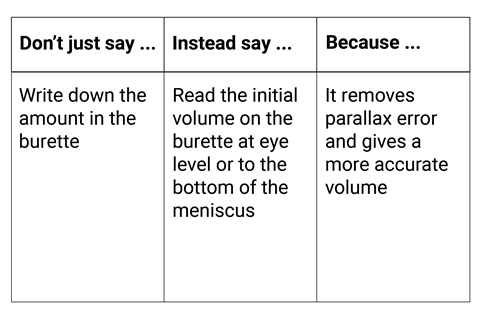
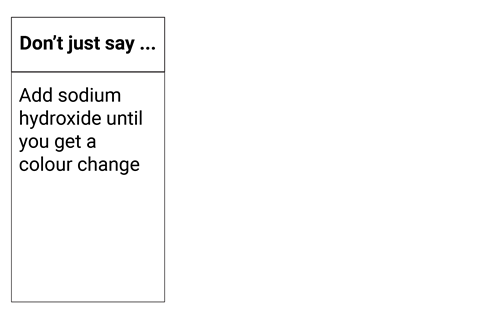
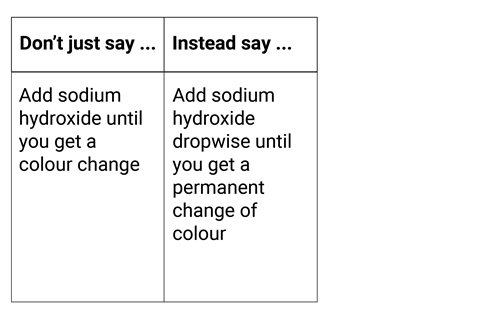
- Give learners just the first two columns in the gallery below (Don’t just say … and Instead say … ). In the first column, show learners a method step with insufficient detail. In the second, show them that same step but with more detail. Ask them to improve their original annotations, again in a different colour.
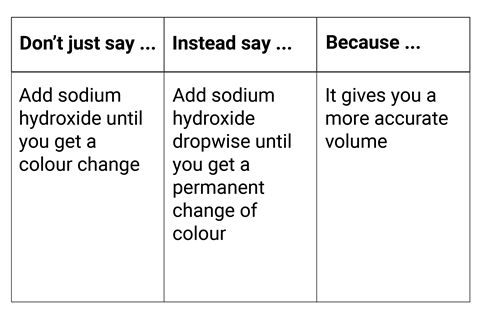
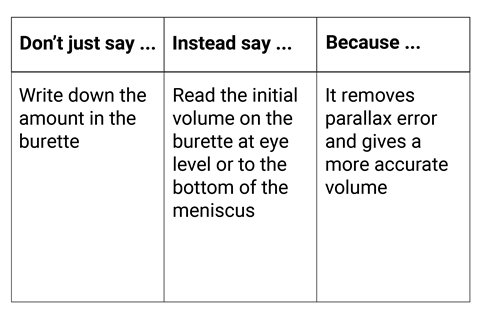
- Give learners the WABOLL and WAGOLL and get them to explain why the latter is better. They can use the third column (Because … ), which justifies why the step in the second column is a better method step, to check their answers.
I like to prepare a sheet with the WABOLL method in a central box so they can annotate around it. I also like to have the table shown in the gallery below available to use full screen. I also have a set printed off for the students to have on their desk when needed. You can click through how to examples of how to fill in the three columns below.
| Step | WABOLL | WAGOLL |
|---|---|---|
| 1. | Clean the burette and pipette. | Rinse a burette with the sodium hydroxide solution and a pipette with the hydrochloric acid. |
| 2. | Fill the burette with sodium hydroxide. | Fill the burette with the sodium hydroxide solution using a funnel, ensuring the jet is filled and removing any air bubbles. |
| 3. | Use a pipette to add hydrochloric acid to a flask. | Use a pipette to measure a fixed volume of the hydrochloric acid into a conical flask. |
| 4. | Add universal indicator. | Add 2–3 drops of a suitable indicator (e.g. phenolphthalein or methyl orange) to the acid in the flask. |
| 5. | Add sodium hydroxide until the colour changes. | Place the flask on a white tile under the burette. |
| 6. | Read the amount added from the burette. | Record the initial burette reading at eye level, reading the bottom of the meniscus |
| 7. | Record the amount of sodium hydroxide added. | Slowly add the sodium hydroxide from the burette to the acid while swirling the flask continuously. |
| 8. | As the endpoint approaches, add the sodium hydroxide dropwise until a permanent colour change is observed. | |
| 9. | Record the final burette reading at eye level, again reading the bottom of the meniscus. | |
| 10. | Calculate the volume of sodium hydroxide added by subtracting the initial reading from the final reading. | |
| 11. | Repeat the titration until concordant results are obtained. | |
| 12. | Calculate the mean titre. |
The outcome may be more detailed than your typical method for a titration, but I like to reinforce that the learning is in the detail. My experience is that students often miss some of these details; I teach them that it’s better to over-answer than under-answer.
Top tips for teaching titrations
- When applied to post-16 redox titrations with potassium manganate (VII), a paper sleeve can be put around the burette to see the level better as you can’t see the meniscus of the purple solution. In this instance, you can read to the top of the meniscus.
- Concordant results are within 0.10 cm3 of each other, and a burette can be read to within half a scale division, which is 0.05 cm3.
- A 25 cm3 pipette is more accurate and more precise than a 25 cm3 measuring cylinder. This is often confused with a dropper pipette, which has scale divisions.
Discover more resources, including practicals, worksheets, practical videos and teacher-tested tips, to help learners master titration in our quantitative chemistry topic package.
Ian McDaid
Downloads
WABOLL and WAGOLL example sheet
Word, Size 0.44 mbWABOLL and WAGOLL example sheet
PDF, Size 0.11 mb








No comments yet