


From modelling to scaffolding, try these five approaches to help students master this much-maligned topic
A much-maligned topic for both teachers and students, titration seems to create a longer lasting memory than any other type of practical work. Students often feel they spend a long time on this topic, especially if they don’t feel they’re meeting with much success.
Like many of the classically ‘difficult’ topics, titration relies on a great deal of earlier knowledge for success. When students find it difficult, it often helps to find the weakest link in their chain of knowledge. Anticipating issues before they arise is especially helpful if this topic is near the end of the course.
1. Don’t assume prior knowledge
The equipment used in this technique is unfamiliar to students; it isn’t commonly used with younger classes. Spend some time introducing the kit, including what it looks like in the lab, how it works and how it might be represented in a diagram in an exam paper. The scale on a burette is often confusing to students who are used to reading scales on measuring cylinders and diagrams of burette scales seem to be a common exam question.
2. Take care with language
Because titration is a topic that progresses from 14–16 chemistry into the 16–18 curriculum, it can be easy to muddle up terminology and cause confusion for students who aren’t high achievers. I love words like stoichiometry and aliquot, but they’re not intuitive for 14–16 students. Carefully plan the language you are going to use with reference to the syllabus you teach. Model the information you give at the start of calculations on past exam papers.
Download this
An example scaffold using the table method as MS Word or pdf. It will help students identify where to start their calculations.
An example scaffold using the table method from the Education in Chemistry website: rsc.li/3l0zrbI
3. Use concrete examples before moving into more abstract areas
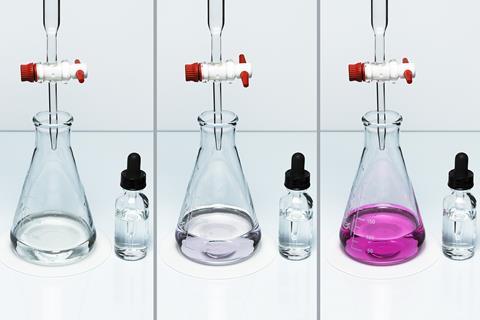
Students need to do a titration to help them place the theory in practice and to build a strong mental picture. This can be tricky when specialist equipment like burettes is in short supply, but it can be done in pairs or small groups. If a demonstration is the only possibility, get a couple of students up to try and ‘beat the teacher’. Who will get the perfect end point over one drop? Even better, put the concentration of the unknown in a sealed envelope and challenge the class to find out who has the most accurate result.
4. Develop confidence in longer written descriptions
Questions requiring a longer written answer can be intimidating. Reassure students that they don’t have to fill all the space, or even write in continuous prose.
When students are asked to describe how to do a titration, they repeat themselves or miss out vital information. Use structure strips to guide them to writing logically and concisely.
5. Scaffold calculations and gradually retreat
Titration calculations are difficult. First, students need to find the right information in the question and then remember the steps to get to the answer and carry them out in the correct order. Reduce the cognitive load by careful scaffolding, then gradually removing this.
I like the table method as it is really useful for helping students identify where to start the calculation. I often summarise this method as going down one column and up the other, and students quickly gain confidence in using it.
Have you seen the posters and resources on mastering titration apparatus and standard procedure? Download them today.
Downloads
Scaffolding titration calculations
Editable handout | Word, Size 81.41 kbScaffolding titration calculations
Editable handout | PDF, Size 0.13 mb


No comments yet